It’s July. Time to pick blueberries. Time to pick homegrown blueberries.
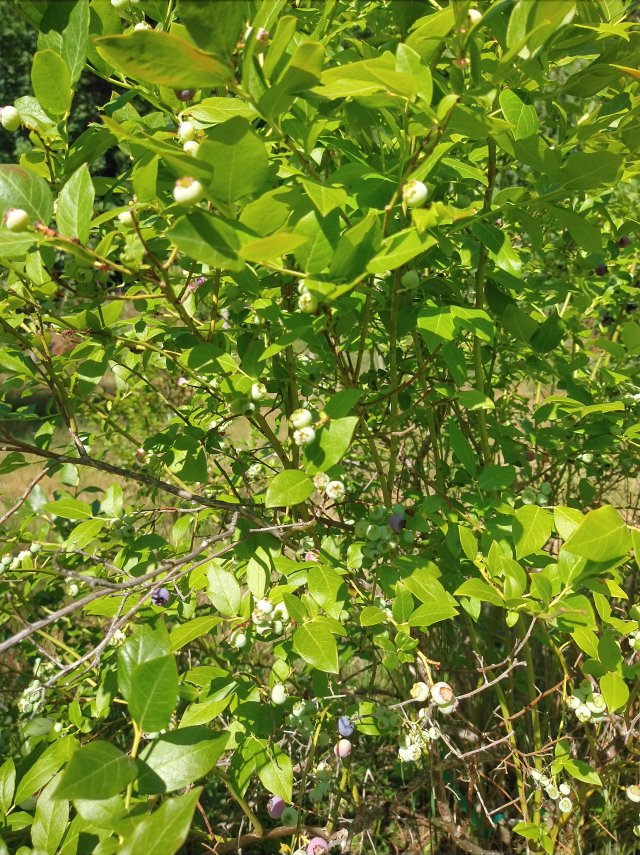
I pick in late afternoon. The light is best then to discern ripe from nearly ripe. When ripe, the berries are larger, darker – sweet and full of juice. They pretty much jump off the branch into your hand (or mouth!).

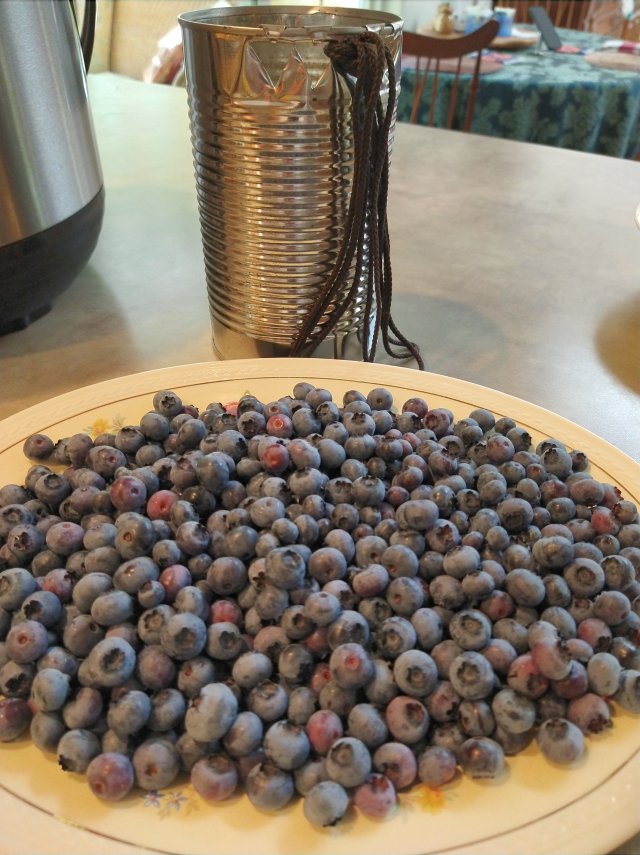
I tied on my picking bucket – a large aluminum juice can with lacing threaded through holes punched through near the top rim – and headed down to the lower end of our small blueberry patch. I like to start with lowest bush and work my way toward the house, which sits on the upper end of the garden. I pick systematically: start on the south side of the bush, pick top to bottom, outside and work in, working clockwise around the plant. I pick all the berries that are ripe or so close that they will be ripe within the next two days.
We purposefully planted five varieties of blueberry (about 3 bushes of each) so that harvesting would be spread out over the season, from early to late. Accordingly, we don’t get a huge lot of berries at any one picking – generally a quart or so – but we pick, starting in early July, for a good couple of months. Every three days. It takes a leisurely half hour or so, and is a very pleasant thing to do on a summer afternoon, enjoying the fresh air and sunshine, with the birds singing and the breeze in the trees.
While I’m picking, I recall my childhood when my sister and I would pick blueberries every summer that our Dad would use at his cafe, making blueberry pancakes and his signature Blueberry Creme Pie. The blueberry patch in the flat down by the river was much bigger than my little patch today, and mostly had just two kinds of blueberries: large bushes with huge berries and smaller bushes with tiny berries (with huge flavor) – I don’t have any way of knowing what the varieties were, but seem to have both in my present-day berry patch. While Sis and I were picking, she would try (in vain) to keep me on task, exhorting me to “Pick Clean!” Just tying on my blueberry bucket brings on this memory – we used the same kind, way back when.
And so, I take my time picking, plucking off the ripe berries, removing any stem ends that might cling, then dropping them into my bucket. I often pick with both hands, but sometimes gently hold the branch with my right hand and pick with my left.
After picking, I pour the berries out onto a tray and pick out any blossom ends, leaves, or anything else that isn’t ripe berry. Sometimes they go into the fridge if we’re going to eat them right away, but often they’re frozen for later use. So nice to have off-season in pancakes or . . . .
Dutch Baby Pancake
- 1/2 cup all-purpose flour
- 1/2 cup whole or 2% milk
- 2 large eggs
- 2 tablespoons granulated sugar
- 1 teaspoon vanilla
- 1/2 teaspoon kosher salt
- 2 tablespoons unsalted butter
- Powdered sugar, maple syrup, and jam, for serving
- Blend the batter: Place the flour, milk, eggs, sugar, vanilla, and salt in a blender or food processor fitted with the blade attachment. Blend for 10 seconds, scrape down the sides, and then blend for another 10 seconds. The batter will be quite loose and liquidy.
- Rest the batter: Leave the batter in the blender and set aside to rest 20 to 25 minutes. This gives the flour time to absorb the liquid.
- Heat the pan and oven: Meanwhile, place a 9 to 10-inch ovensafe skillet on the middle rack of the oven and remove any racks above it. Heat the oven to 425°F.
- Melt the butter: When ready to make the pancake, remove the skillet from the oven using oven mitts and place it on top of the stove. Add the butter and swirl the pan to melt the butter and coat the bottom and sides of the pan.
- Add the batter: Pour the batter on top of the butter. Tilt the pan if needed so that the batter runs evenly to all sides. Place the skillet in the oven.
- Bake the Dutch baby: Bake until the Dutch baby is puffed, lightly browned across the top, and darker brown on the sides and edges, 15 to 20 minutes.
- Serve while hot: You can either serve from the pan or transfer the Dutch baby to a serving platter. Dust with powdered sugar. Cut into wedges and serve with maple syrup or jam.
Fruit-filled Dutch baby: Arrange fruits like blueberries, raspberries, or sliced peaches over the bottom of the skillet and then pour the batter over top. (Scattering fruit on top of the batter will keep it from rising as impressively.)
Recipe from The Kitchn: https://www.thekitchn.com/how-to-make-a-dutch-baby-pancake-227629#post-recipe-11259
